Setting The Timing On Your Fox Body

Properly setting the ignition timing can help you squeeze every last bit of power out of your Fox Body’s engine. Incorrect timing can cause sluggishness, poor fuel economy or pre-ignition.

Timing that is set too low can cause slow performance and poor fuel economy. Setting timing too high can cause hard starting or pre-ignition.

The stock timing on most Fox Body Mustangs is 10 degrees before TDC (Top Dead Center). To increase performance it is common to bump up the timing to 12 or 14 degrees before TDC center.

I hadn’t set the timing on a vehicle in 25 years. I had to do a little research before diving in head first. IMaybe someone else will find this information handy too.

Tools Needed To Set Timing

(1) Induction Timing Light

20170521_183443.jpg

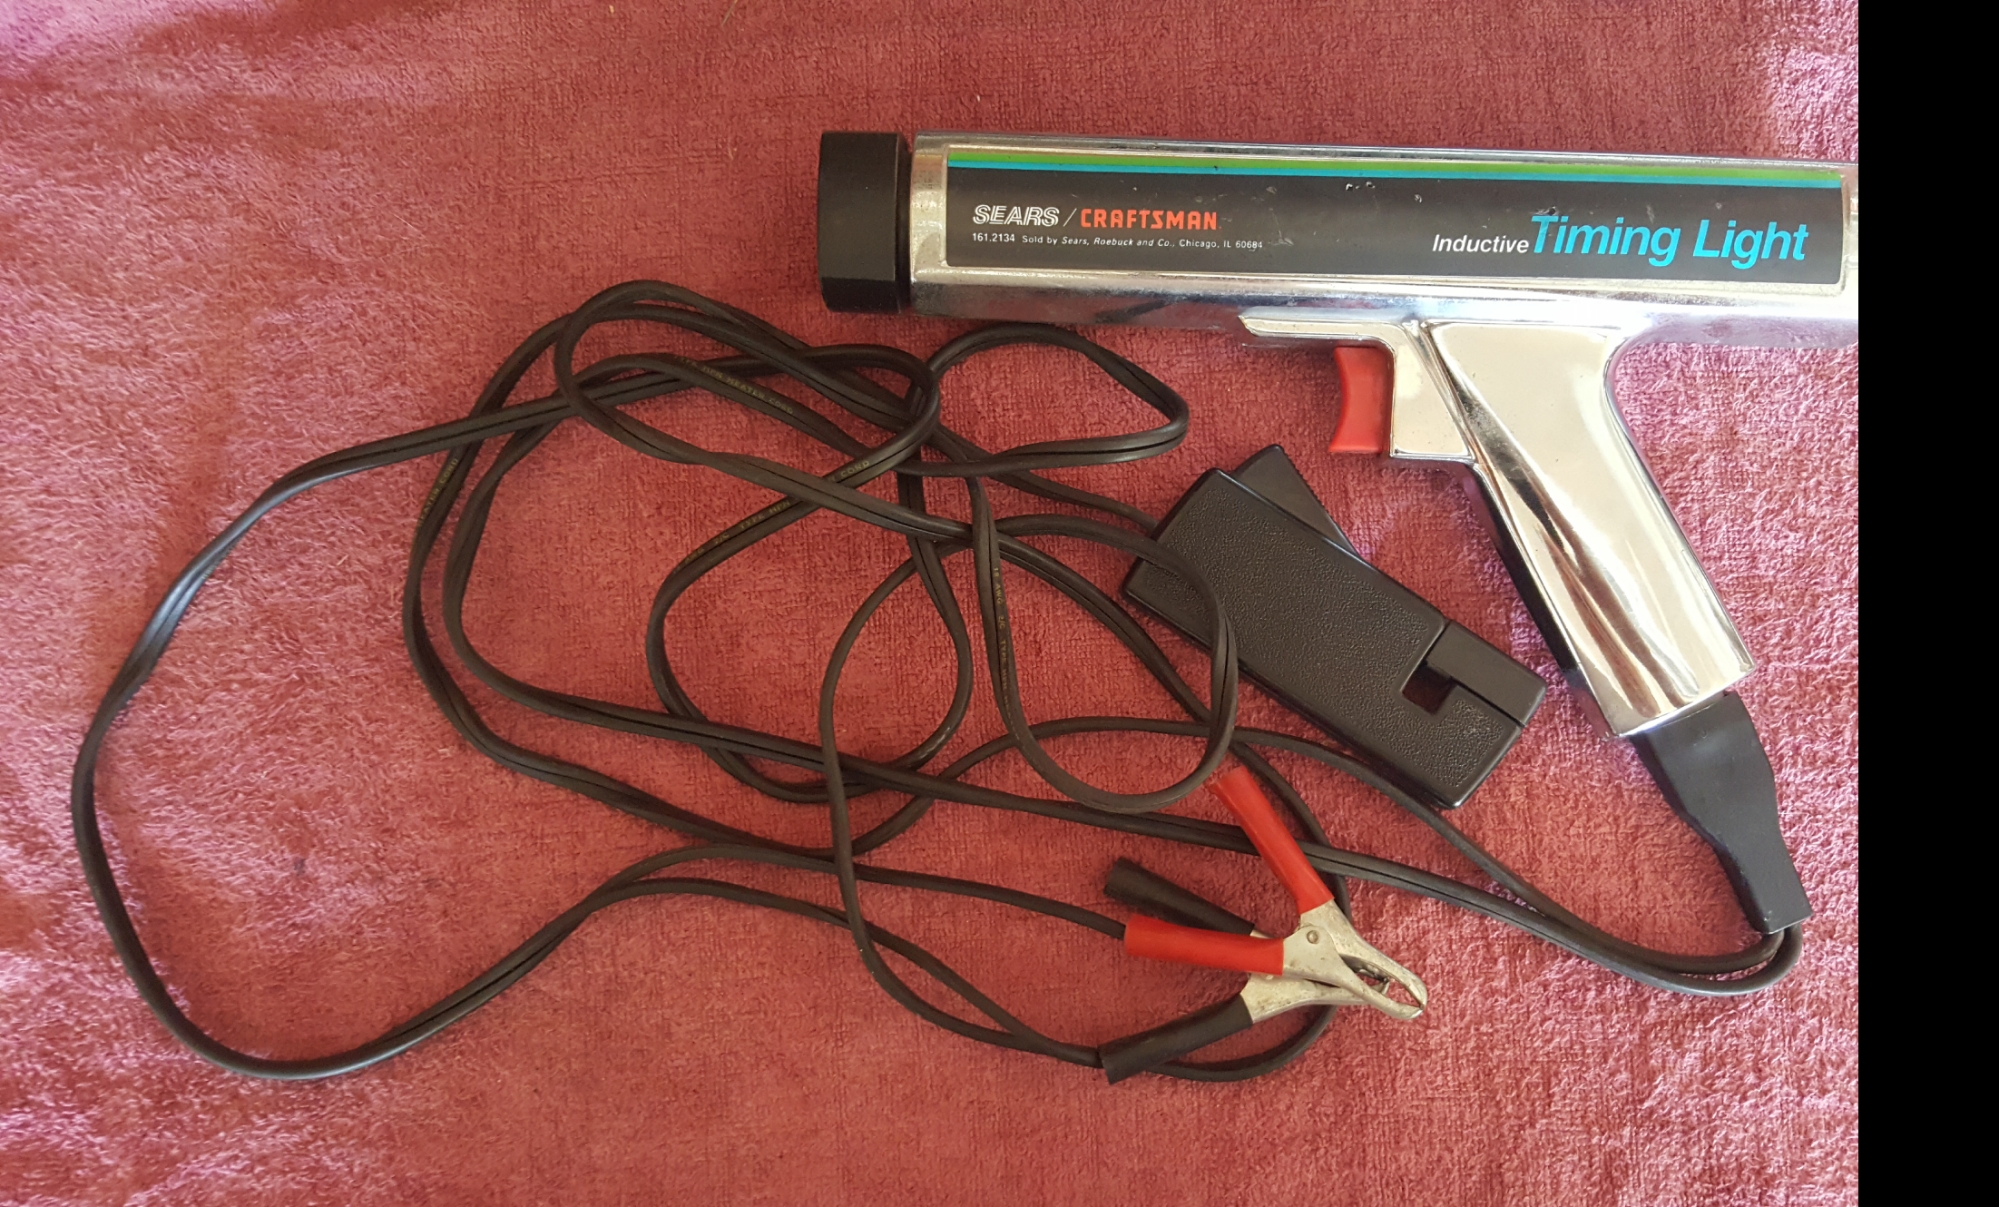
I was given this old school timing light. If you don’t have a good timing light, this one on Amazon has great reviews and is around $35 Highly Rated Timing Light on Amazon

(2) Ratchet w/Extension and 1/2″ Crows Foot. Any tool that will loosen/tighten the distributor hold down bolt will work. I like the crows foot because it has multiple uses.

20170521_183358.jpg

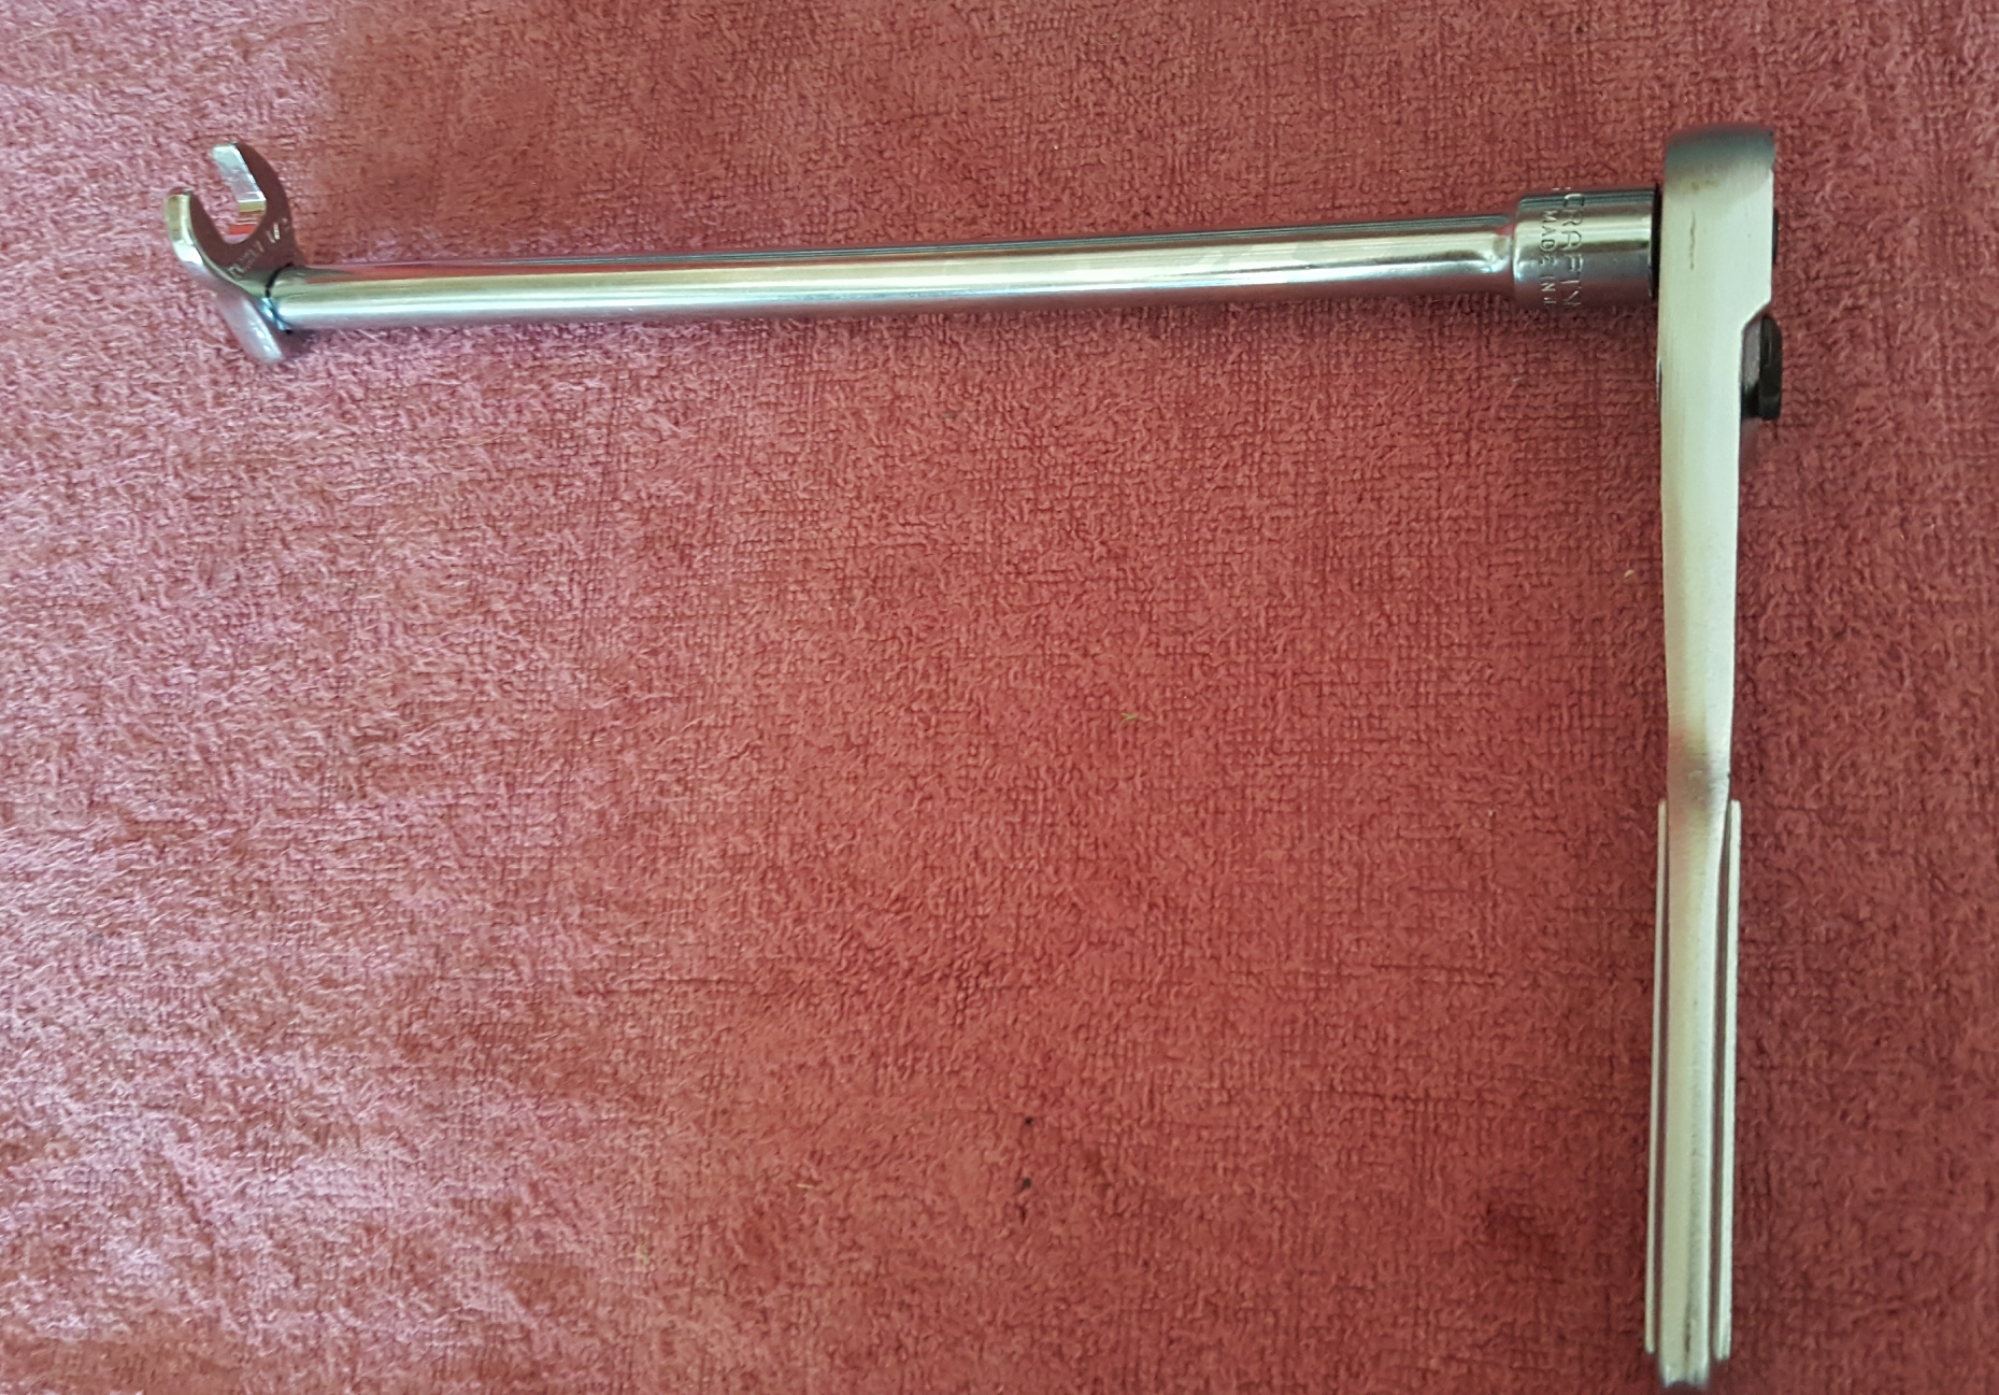
I found my crows foot set on Amazon. They were value priced and quality made.

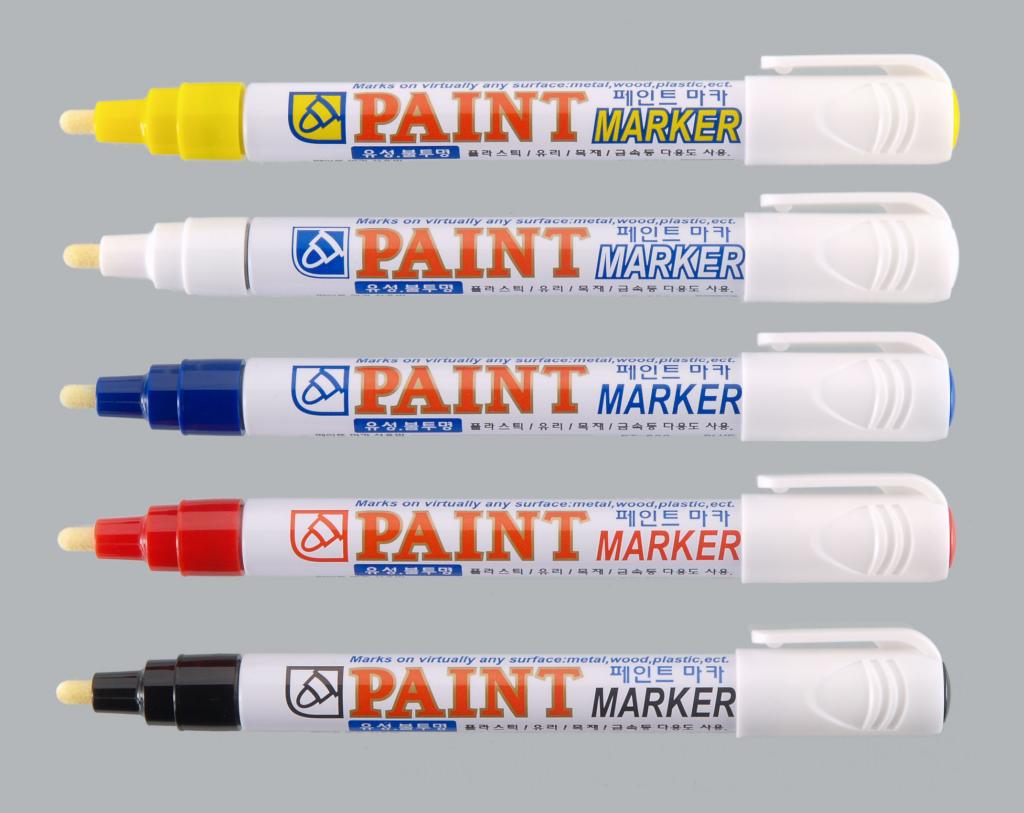
(3) Paint Marker or Similar Paint

paint-marker-pens-assorted-colours-5-pack-uyzx.jpg

Preparation
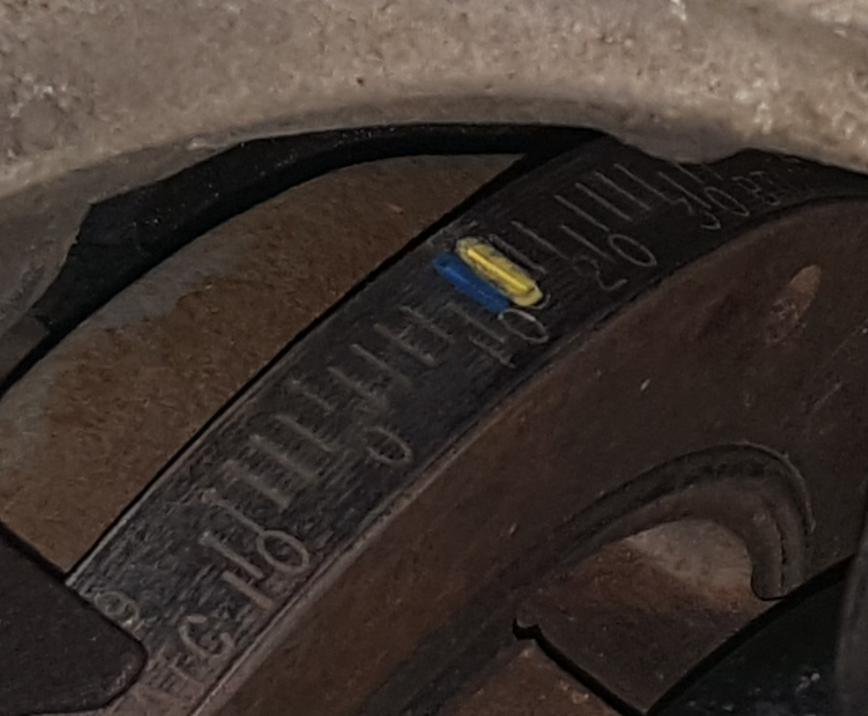
The harmonic balancer has hash marks on it. These marks represent degrees of timing. Hash marks are used to dial in the desired timing settings.

20170521_193155.png

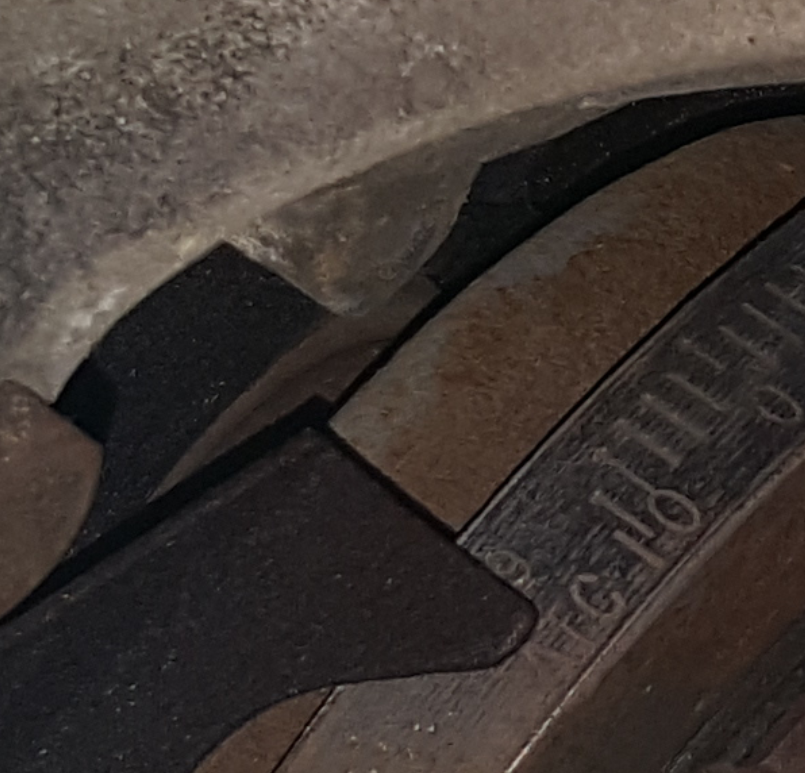
The right edge of the thin metal pointer is used to align to the hash marks. You may find that the harmonic balancer is rusted making the hash marks difficult to read.

I used a bit of fine sandpaper to remove the rust from the harmonic balancer. I then wiped it clean with a rag and brake cleaner. To make the lines easier to see, I painted the 12 degrees BTDC mark with my blue paint marker. Then, I used my yellow paint marker to mark the 14 degrees BTDC mark. You can choose any colors that you like.

20170521_194144.png

How To Set Timing

(1) Bring the engine up to operating temperature and turn off all accessories.
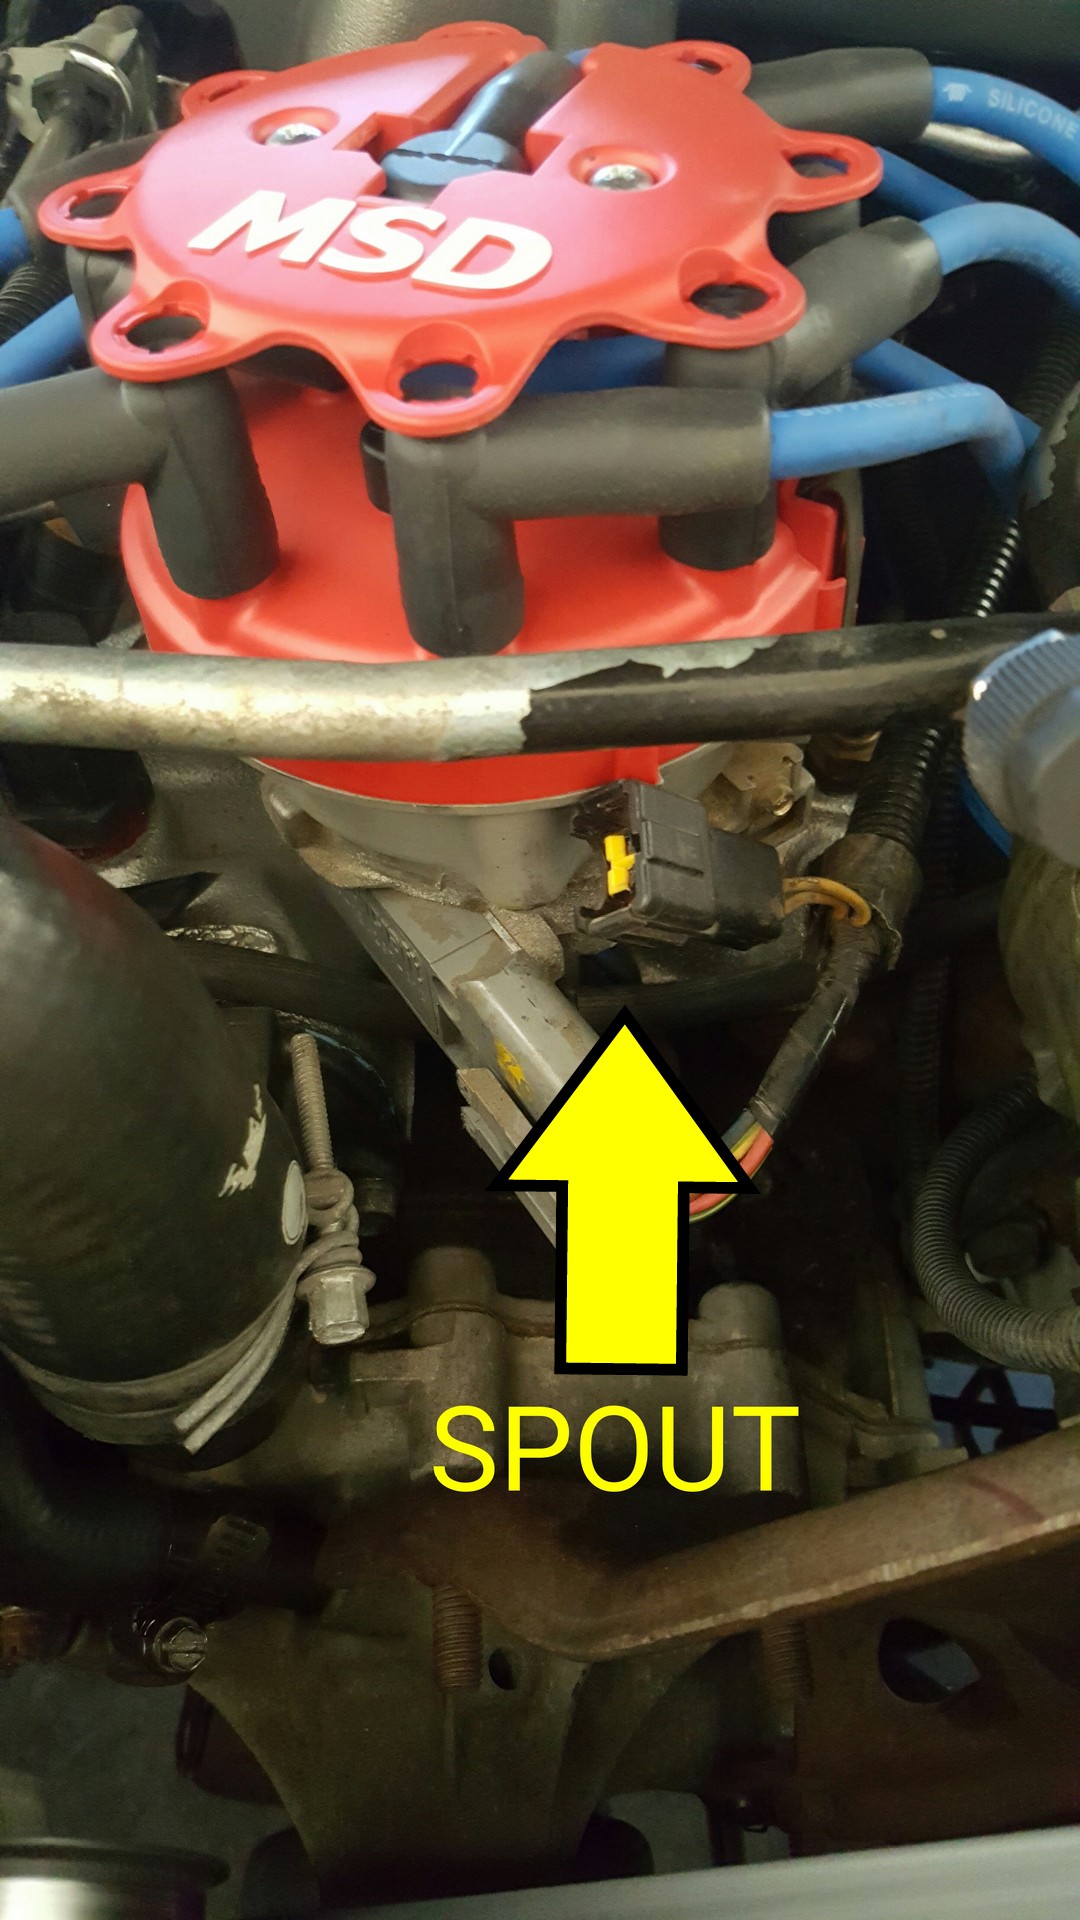
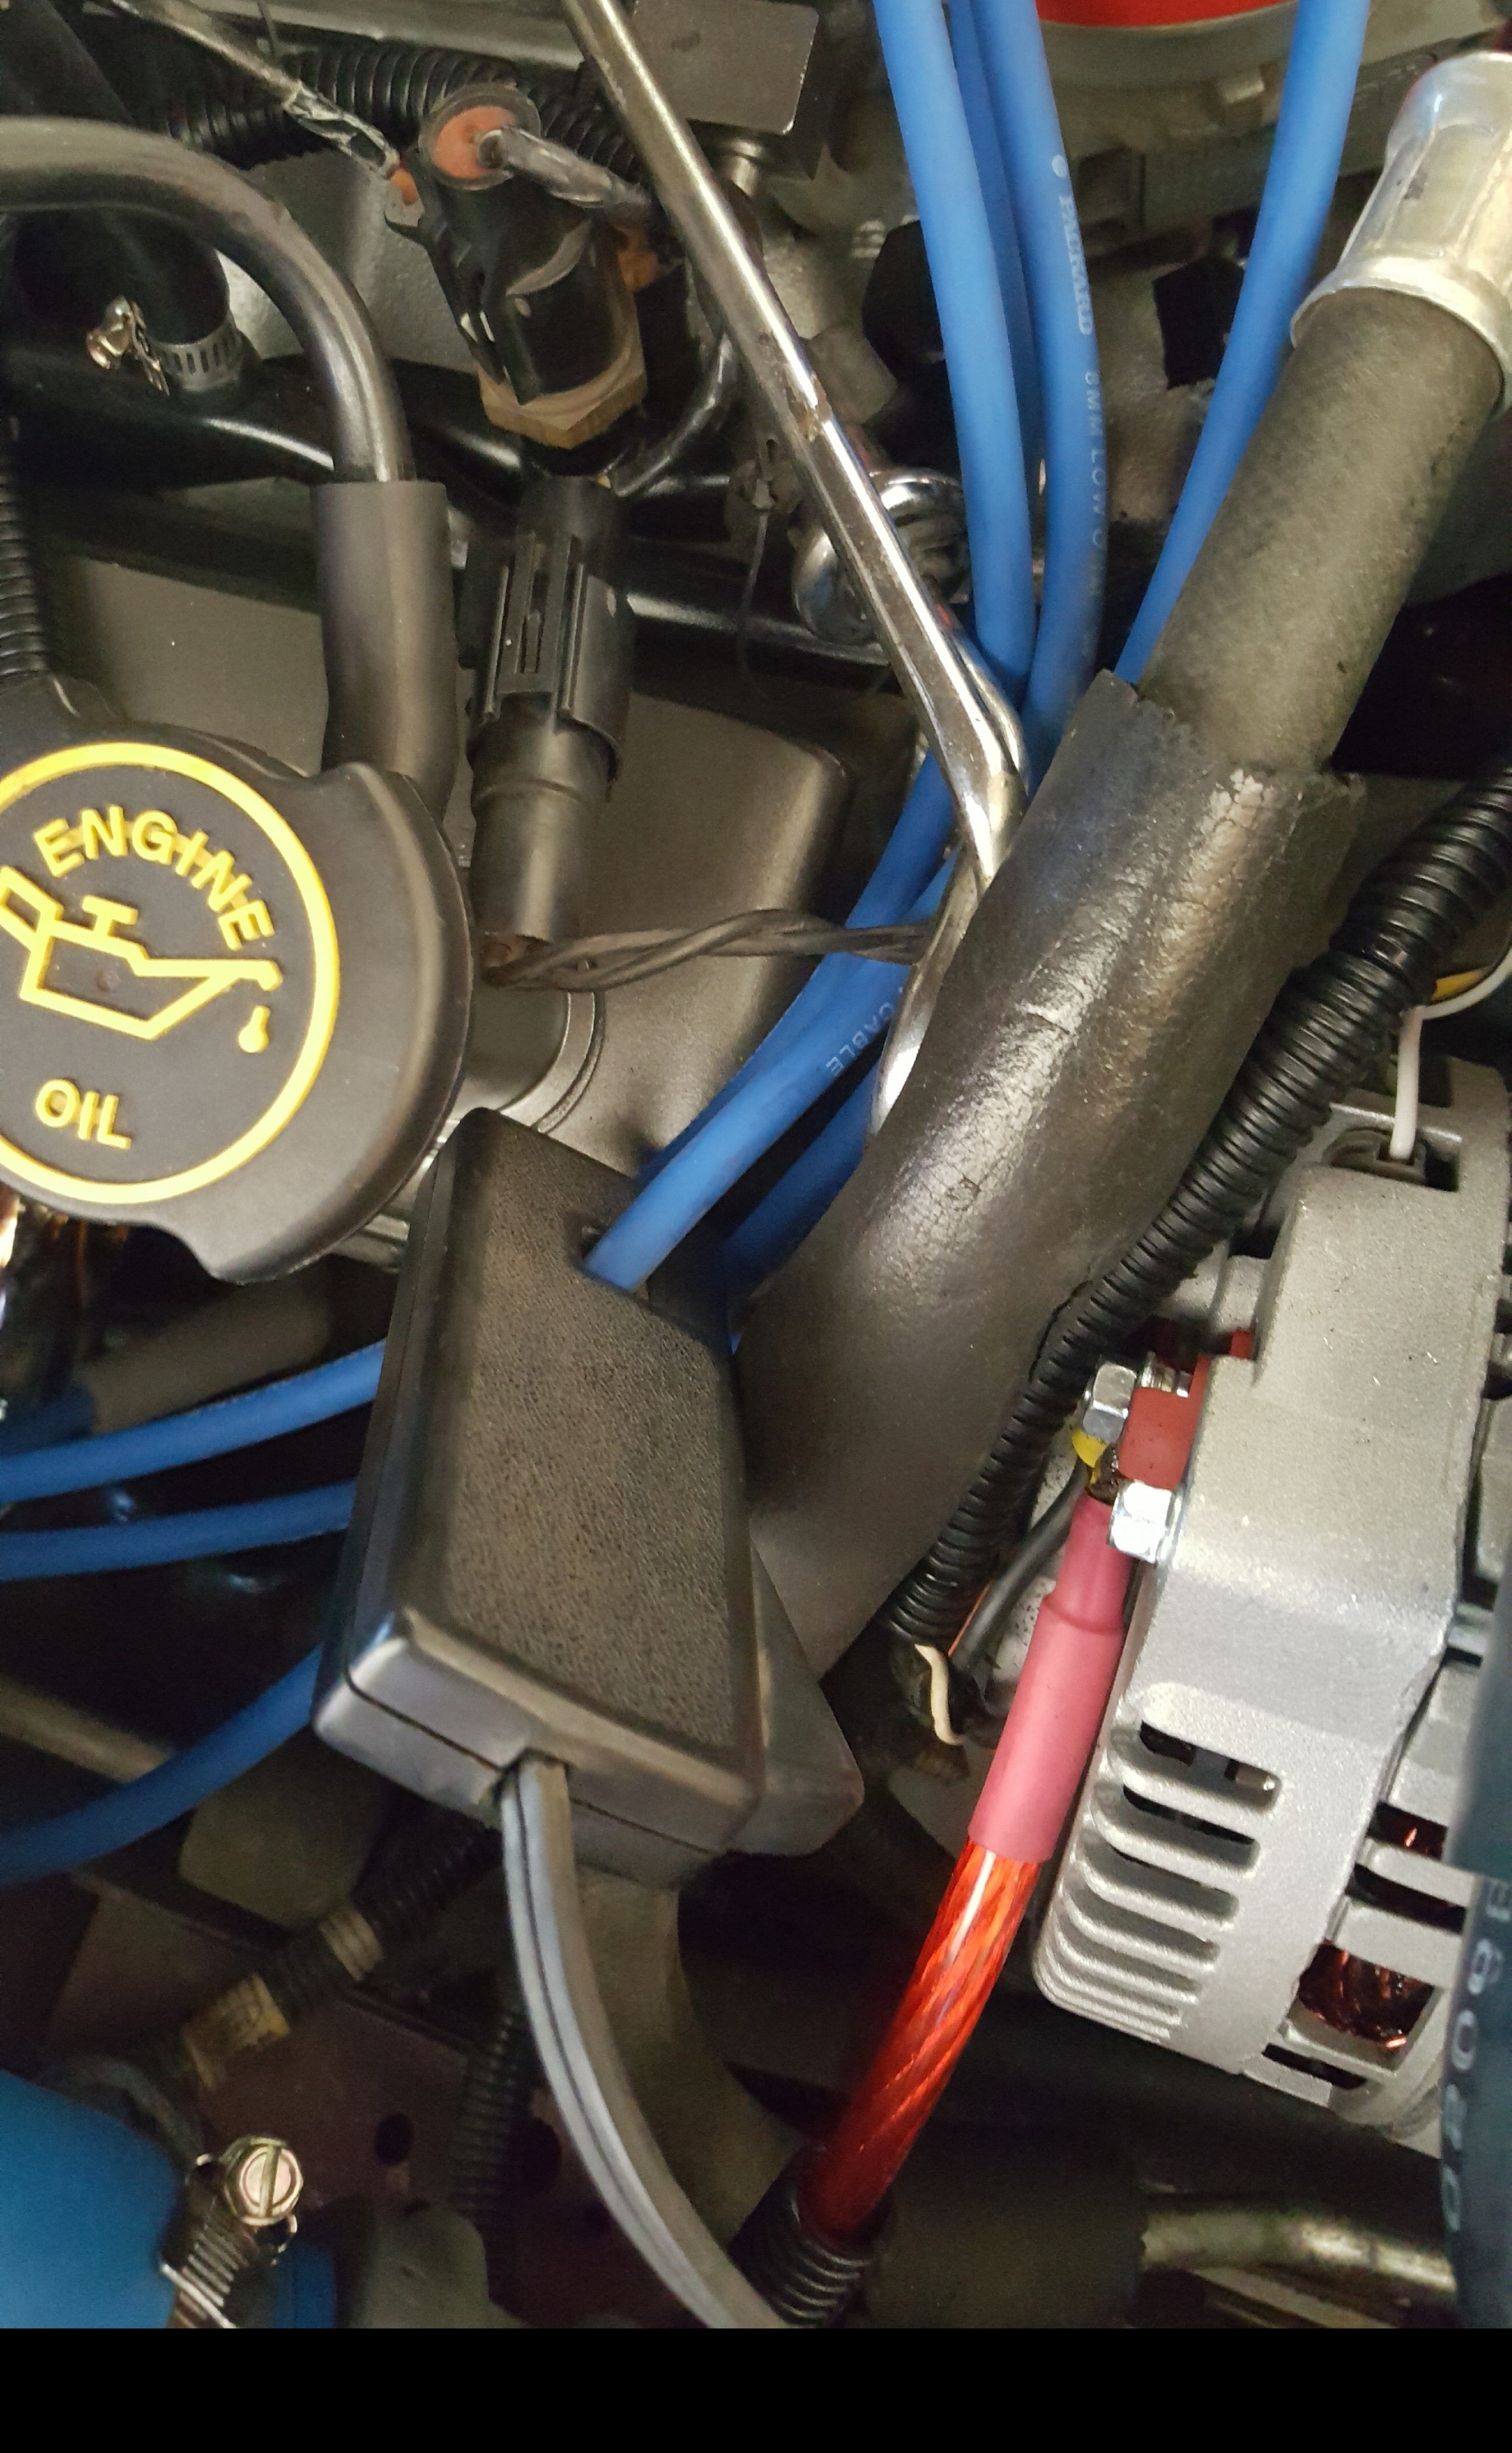
(2) Remove the SPOUT connector located near the distributor. DO NOT lose it!

lrs-14489c_5966

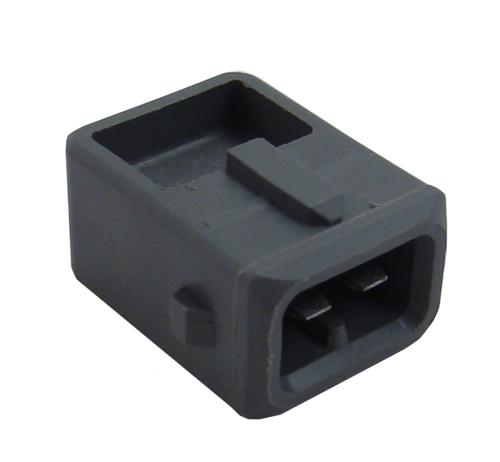
SPOUT connectors can be found on 1986 to 1995 Mustangs. If your Mustang does not have one, skip this step.

SPOUT Location on wiring harness. (SPOUT has already been removed in the photo below)
photoeditor-1495406608181-picsay.jpg

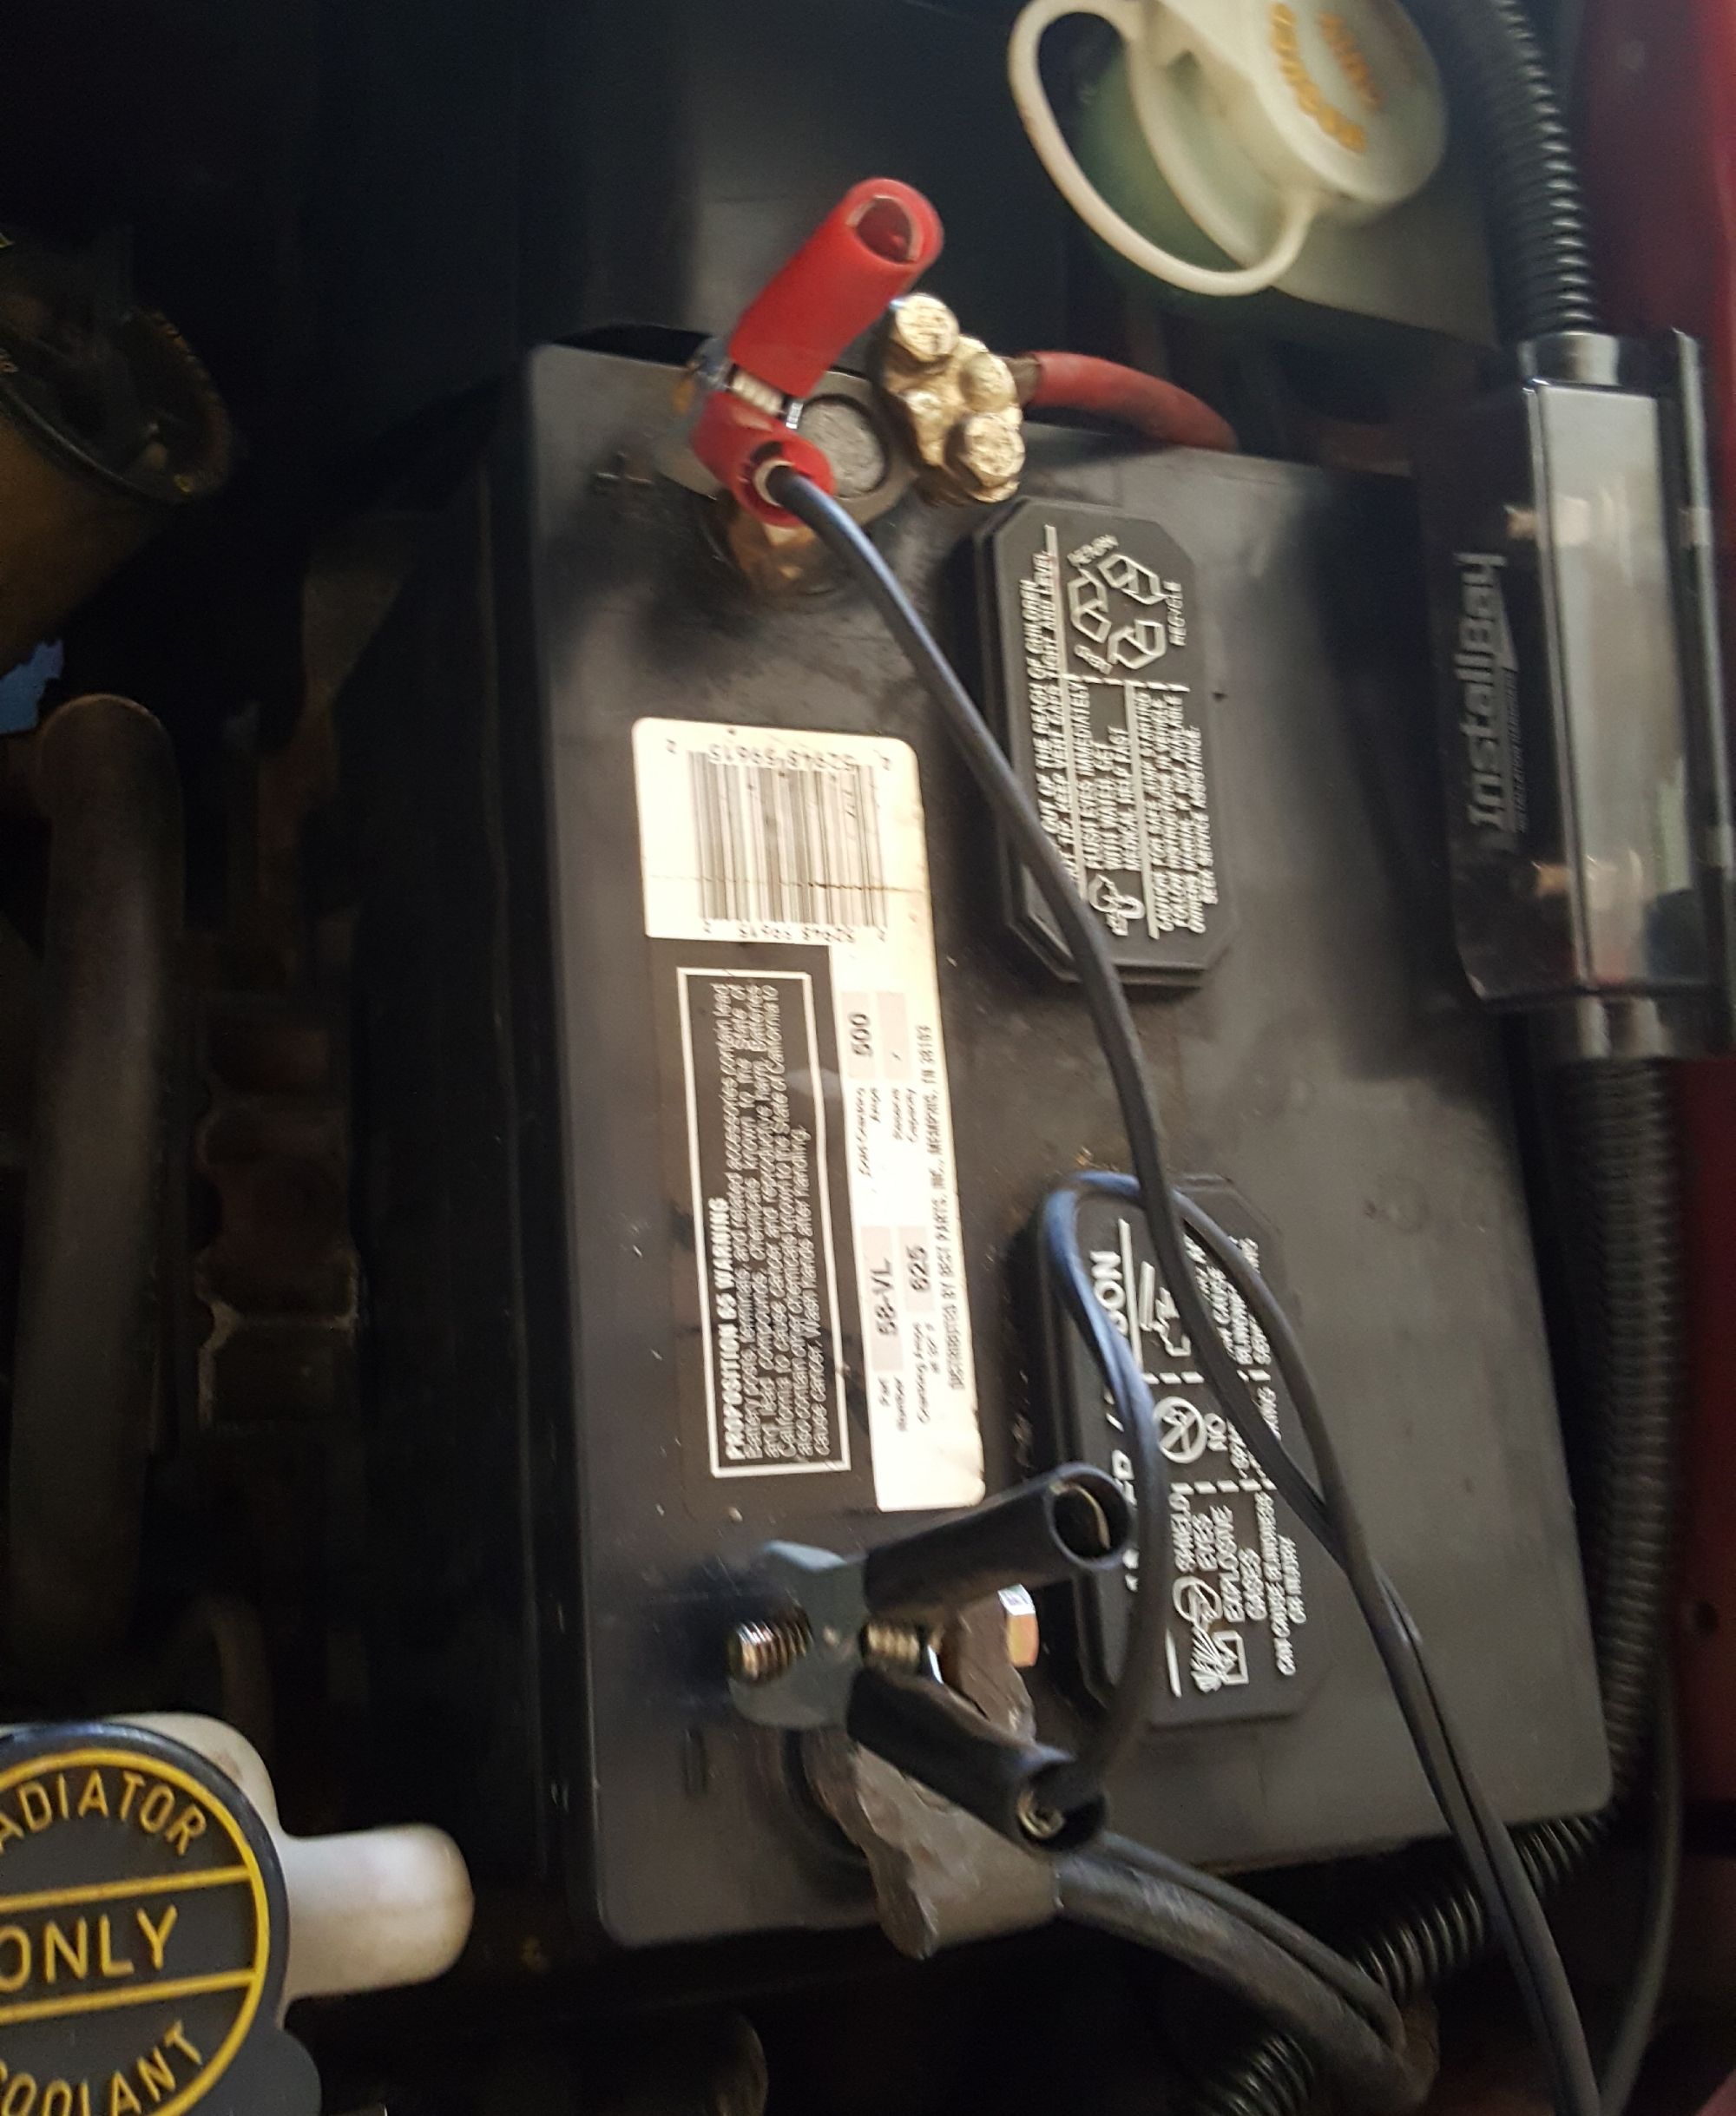
(3) Connect your timing light to your battery and the number 1 spark plug wire. Be sure to watch out for the fan.

20170521_183503.jpg
20170521_183519.jpg

If you aren’t sure which plug wire is number one reference the chart below.

Ford_cyln_1234

(4) Point the timing light at the timing pointer near the harmonic balancer.  Pull the timing light’s trigger to activate the strobe light. Do an initial check of the timing.

(5) To adjust the timing use the ratchet and crows foot tool to slightly loosen the distributor’s hold down clamp.

(6) Rotate the distributor until you achieve the desired timing.

(7) Carefully, tighten the distributor hold down clamp back down.

(8) Double check the timing to ensure it didn’t move when tightening the hold down bolt.

(9) Plug the SPOUT back in.

(10) Road test the car running it through its paces. If you don’t experience pre-ingition, you may choose to go back and advance the timing further. If you do have pre-ignition go back and back the timing off a degree or two.

Adjusting the timing fine tunes your Fox Body’s engine for optimal performance. It only takes a few minutes to check and adjust timing. Do it! You will be glad you did. It is definitely a performance gain you can feel.

Additional Information

If you experience spark knock but like the performance increase from advancing the timing a higher octane fuel may help. Try a good 93 octane gasoline. I am usually not a big fan of fuel additives. But, there are some octane boosters that have been reported to help eliminate pre-ignition when running 87 or 89 octane gasoline.

If you still experience strange spark issues there are a few other things you can look at. Make sure you have a good distributor cap and rotor with brass terminals. Make sure you are running a quality set of spark plug wires. Also make sure your spark plugs are in good shape and that you are running the correct plugs.

Find this information useful?

Other parts and accessories that you may be interested in:

Purchase the MSD 8482 Distributor Cap and Rotor on Amazon

Ford Racing Spark Plug Wire Set on Amazon

Check out other Fox Body Parts we recommend.

SVE 70MM Throttle Body

The factory throttle body that Ford installed on Fox Body Mustangs is pretty restrictive. If you install a better flowing intake or better heads, your factory throttle body is going to limit the performance gains.

image

My build consisted of an Explorer intake and plenum, BBK shorty headers and cold air intake, and free flowing SMR h-pipe and exhaust. That left the factory throttle body choking off my new free flowing upgrades.

image

I picked up a 70MM throttle body and egr spacer from Late Model Restoration. You can catch them on sale for about $160.

image

Click here to learn more about this throttle body.

The fit and finish of the SVE throttle body from LMR was very nice. The machining was done well. I liked that they included new hardware for the EGR valve. All gaskets needed to finish the job are also included. You will re-use your factory EGR spacer and throttle body mounting hardware.

image

image

Installation was pretty straightforward. If you are just swapping out your throttle body and egr spacer, plan on a hour or two to complete the job. All you need is a small collection of basic hand tools. Take advantage of Late Model Restoration’s helpful installation video that walks you through the installation process.
Click here to watch LMR’s installation video.

image

image

I can definately feel a difference after installing the 70MM throttle body. My Fox pulls stronger through the mid range RPMs. Better performance and a nice clean look too!

Click here to learn more about this throttle body.

image

Please feel free to share!

Check out other Fox Body Parts we recommend.

Valve Cover Painting

I needed to replace my valve cover gaskets. While I was at it, I wanted to spruce up my valve covers. But, I didn’t want to spend a lot of money. Powder coating was an option but would run me about $80 for the set. I couldn’t justify spending $100, $200 or more for aftermarket valve covers. After all, the factory units worked perfectly fine.

image

The factory finish on the valve covers had seen better days. The natural oxidation process, heat, and oil had turned their finish dull and dark.

Aluminum can be tricky to paint.  Adhesion can be a real issue. I conferred with our coatings expert Dave M at work. He said that an etching primer was the hot ticket. Dave also cautioned me on surface cleanliness.

I needed some other supplies to do the job right. My supply list is shown below. Some of the items I already had on hand. Since I spent less than $15 dollars on primer and paint This is a budget project. WalMart and auto supply stores carry a good selection of primer and automotive spray paints. The other items are readily available at big box store home centers.

Supply List
– Degreaser (Purple Power or similar)
– Small Scrub Brush
– 3M Red Scotchbrite Roloc Disks
– 150 Grit Sandpaper
– Rustoleum Etching Primer
– VHT High Temp Paint (cast iron color)
– Rubber Gloves

I started by spraying the covers down with degreaser and letting them soak for a while. After a good soaking, a spray with a garden hose was next. I applied the degreaser again and used a small scrub brush to remove the remaining oil and grease deposits. It took a few times but they came out surprisingly clean. Lastly, I used a paper towel and degreaser to remove the last bit of oil from the nooks and crannies. I took time to blow them dry with compressed air.

image

To remove the patina on the valve covers I used 3M red scotchbrite rolocs and my 90 degree air tool. These made quick work of cleaning up most of the dingy looking oxidation. However, at this point I could eeally start to see that the factory cast aluminum has plenty of visible imperfections, flaws, and bumps.

image

image

I had to use 150 grit sandpaper to get into the areas around the bolt holes and the tight corners. While I was at it, I sanded down some of the small raised areas and casting imperfections. I didn’t get all the surface flaws removed. If you want to spend the time, you can probably get get most of them out. The primer will hide quite a bit of the surface imperfections. I also filed down some areas of raised casting flashing around the gasket sealing surface.

While I had the scotchbrite rolocs out, I cleaned up the gasket surfaces. For good measure, I also very lightly broke the sharp edges on the sealing surfaces. Then, I removed the three small screws holding the baffle in place. This was to ensure that no oil remained under the baffle.

Now, it was time to give the covers a good bath. My valve cover hot tub consisted of a cup of degreaser in a sink full of hot water. I let the first cover soak for a while. I used my scrub brush to scrub every inch of the valve cover seveal times. Finally, a paper towel was used to wipe out the corners. Next, I rinsed the valve cover very thoroughly using the hose end sprayer. Donning rubber gloves I blew the cover dry with compressed air. The gloves helped to keep the natural oils from my hands from contaminating the freshly cleaned surfaces. The other valve cover was given the same cleaning treatment.

Because aluminum is tricky to get paint to stick to it, I used an etching primer.
It’s a mix of phosphoric acid and zinc. The way it works is that the acid forces the zinc into the top of the metal.

image

I sprayed three or four light coats of primer on the covers. The directions on the can said to wait two minutes between coats. The primer does dry quickly but I waited three or four minutes between coats just to be sure. I was happy with the way the primer filled in most of the surface imperfections.

image

Next came the fun part. Painting the covers with the VHT high temperature paint. The paint is advertised as chemical resistant and holds up to temps up to 550 degree. I chose the cast iron color option.

image

I sprayed three or four very light coats of paint on the covers. At first, I wasn’t sure about the color. After it dried, I really liked it. It had a slight hint of a metallic property to it. It was not the run of the mill black or chrome that a lot of Fox Bodies have.

image

image

Folks in the Facebook Fox Body groups seem to like the finish product. Thanks to all of you for checking them out. Thank you also for the compliments!

image

image

image

Before and After

image

Feel free to share my blog! Once I get the valve covers installed, I will add more photos.

Update:

Eight months later and my valve covers still look like they were just painted.

SVE Fox Body Floor Mats

Old worn out floor mats can make an otherwise nice interior look bad. Poor fitting floor mats move around and can pose safety issues for the driver.

The floor mats in my 1989 Fox Body were cheap universal fit floor mats. They had seen better days and wouldn’t stay in place. The driver’s floor mat always ended up pushed up under the pedals. This was annoying and unsafe.

I fruitlessly searched my local parts and discount stores for suitable replacements. Many online stores had nice floor mats with embroidered logos but they were priced way out of our project’s budget.

I finally found this 4 piece set of custom fit SVE floor mats from Late Model Restoration. Priced at $45.99 with free UPS shipping these mats were well within our budget. These floor mats fit 1979 through 2004 Mustangs.

image

Click here to check out SVE floor mats at Late Model Restoration.

I was able to quickly and easily place my order on their website. Minutes later I received an order confirmation email. An hour later I received a UPS shipping notification along with tracking information. Three business days later my new floor mats were on my doorstep. My first experience ordering from LMR was very good so far.

image

See all Late Model Restoration’s Fox Body Mustang Parts.

Upon inspecting the SVE floor mats I am very pleased. They look great! The carpeting is very thick. These mats are as thick or thicker than any OEM floor mats that I have seen. The seam stitching is strong.

20170315_183648

The rubber backing has the little spiked nibs on the back to keep the mats in place. The rubber backing doesn’t have any unpleasant odors.

20170315_183012

These floor mats fit great and stay in place. Installation took all of 2 minutes. These mats make my interior pop! My interior has been brought back to life. I highly recommend this set of SVE floor mats.

Click here to check out SVE floor mats at Late Model Restoration.

lrs_logo_2012

Feel free to share this article or comment below.